Precision in Inspection: PAUT & TOFD Testing
Introduction
In today’s highly regulated industries—where weld quality and structural integrity are critical—accuracy in inspection can make the difference between safety and failure. Two of the most advanced ultrasonic methods used worldwide for this purpose are Phased Array Ultrasonic Testing (PAUT) and Time of Flight Diffraction (TOFD).
At Inspection Technic, we offer both PAUT and TOFD services, enabling precise, high-resolution flaw detection and weld inspection across diverse sectors like oil & gas, power, petrochemical, and offshore structures.
🔍 What is PAUT?
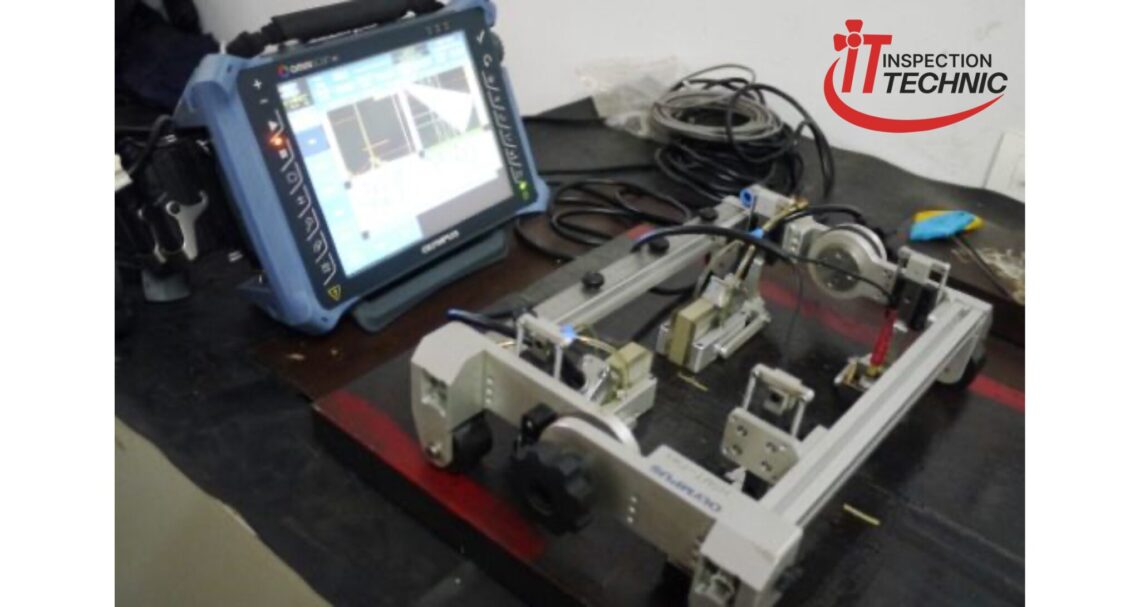
Phased Array Ultrasonic Testing (PAUT) is a highly advanced form of ultrasonic testing that uses multiple ultrasonic beams from a single probe. These beams can be electronically controlled to sweep through a weld or material, producing a cross-sectional image similar to a medical ultrasound.
Key Advantages of PAUT:
📷 High-resolution imaging of flaws in real-time
🎯 Accurate sizing and location of defects
🔄 Flexible scanning angles without moving the probe
📊 Recordable & analyzable data for audits and compliance
🛠️ Excellent for complex geometries and corrosion mapping
⏱️ What is TOFD?
Time of Flight Diffraction (TOFD) is a high-accuracy ultrasonic method used to detect and size flaws based on the time it takes for diffracted sound waves to return to receivers. It’s extremely sensitive to cracks and weld defects, even those not aligned with the beam direction.
Key Advantages of TOFD:
🧪 Exceptional defect sizing accuracy
📉 Less sensitive to weld geometry or surface condition
🛡️ Quick and reliable detection of critical cracks
💾 Digital documentation and permanent record
✅ Ideal for thick-wall inspections and code compliance
🧪 PAUT vs. TOFD – When to Use What?
| Feature | PAUT | TOFD |
|---|---|---|
| Imaging Type | Cross-sectional ultrasonic image | Time-based flaw diffraction |
| Best For | General weld inspection, corrosion | Crack sizing, thick materials |
| Scan Coverage | Directional, multi-angle | Through-wall, single-pass |
| Data Output | Real-time image + A-scan | A-scan + defect time-of-flight |
| Standards | ASME, ISO, API | ASME, ISO, API |
In many critical applications, PAUT and TOFD are used together to complement each other and ensure comprehensive inspection coverage.
🔧 Why Choose Inspection Technic?
At Inspection Technic, we bring together certified Level II & III technicians, world-class equipment, and real-time reporting systems to deliver precision-driven PAUT and TOFD services across India and Africa.
Our Capabilities Include:
Portable PAUT & TOFD units for on-site testing
Weld scan interpretation and reporting per ASME & API codes
3D visualization of defects
Digitally stored inspection records
Immediate analysis for shutdowns, revamps & audits
Compliance with ASME Section V, ISO 13588, ISO 10863, and AWS D1.1

